Over the course of the 2017 school year, my approach to teaching Scratch changed dramatically as I came to better understand how to support my girls’ learning and engagement with Scratch visual programming.
As I have previously explored here and here, my students thrive on challenging, authentic visual programming tasks which focus on storytelling and game design. One of my professional learning goals this year was to bring my students’ up to the year level C standard for visual programming, assessed against the WA version of the Digital Technologies Curriculum. I also set out to develop a scope and sequence of Scratch skills and assessment tasks for each year level.
We made a great deal of progress, although at times, I felt like a victim of my own succcess. In addition to our classroom projects, it was not uncommon for students to spend many happy hours in their own time exploring and building Scratch projects of all kinds. In addition, my lunchtime Scratch club proved to be so incredibly popular that I had to split it across two sessions due to overwhelming demand.
So, as the year draws to a close, I thought I might share what I’ve learned, and take this opportunity showcase my students’ learning and creativity in Scratch.
Our Scratch Progression (A Work in Progress)
YEAR 3
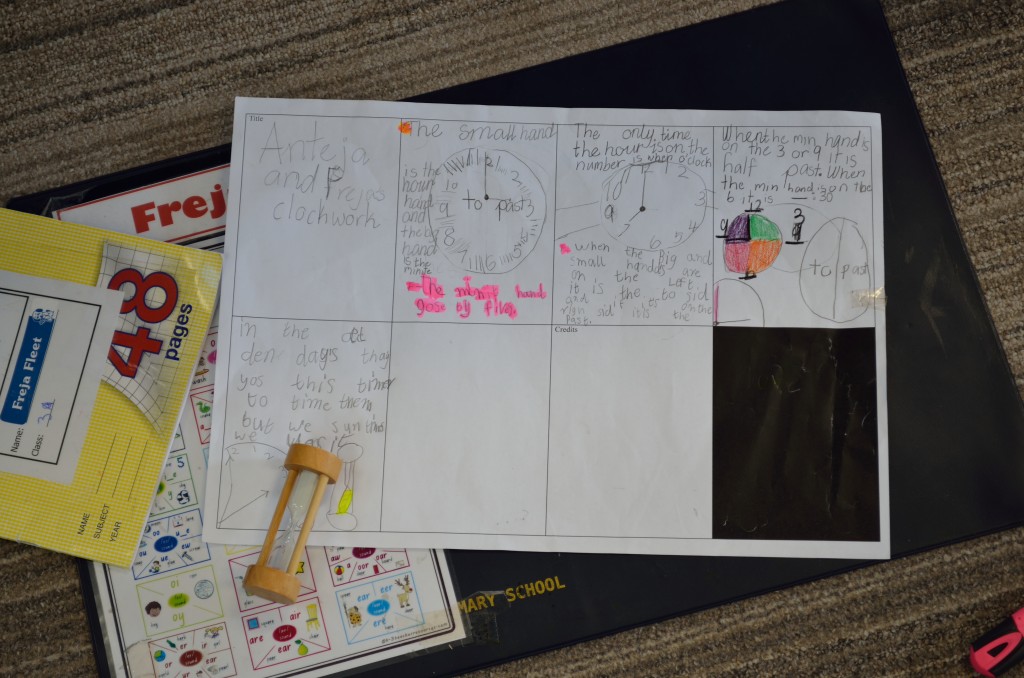
Various storytelling and simple animation projects using Scratch Junior on iPads. Scratch 3.0, to be released sometime next year, will no longer require Flash, and will be iPad friendly. I can’t wait to use it with my students!
YEAR 4
Projects: Animations, Storytelling, Maze Games
Skills / Teaching Points
- Create and edit sprites in Scratch
- Create and edit backdrops
- Use the switch backdrops control block to switch scenes/screens (instead of a strange combination of key presses to progress a story)
- Script and code a conversation between two sprites
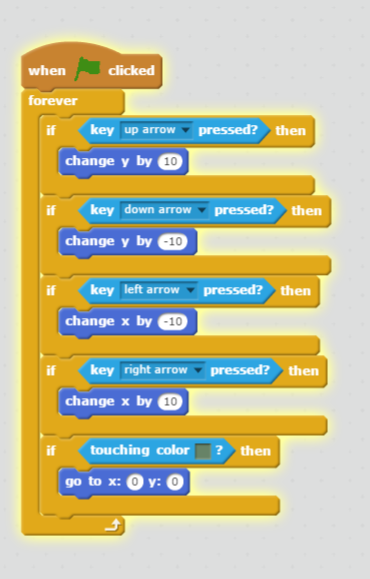
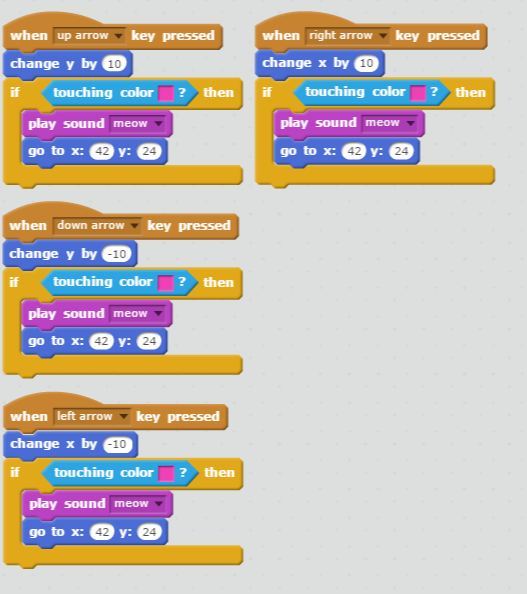
- Explicitly teach how to use the arrow keys to make sprites move, eg. through a maze.
- Use repeat blocks to repeat a sequence of steps (e.g. a dance)
- Informal introduction to IF/THEN branching and use of clickable buttons to enable user interaction with stories or games
Relevant Scratch Tutorials
- Getting Started with Scratch
- Animate Your Name
- Let’s Dance
- Make it Fly
- Fashion Game
- Hide & Seek Game
- Create a Virtual Pet
- Create a Story
Example Projects
(Note: You may need to enable Flash in your browser to view these.)
YEAR 5
Projects: Choose Your Own Adventure Stories, Character Animation, Simple Games, Teach/Explain/Model a Concept (2018), Scratch Geometric Art (2018?)
Skills / Teaching Points
- Explicitly teach use of flowcharts and IF/THEN, IF/ELSE control blocks (branching)
- Explicitly teach how to use coordinate position to control sprites location on the screen, and arrow key movements (up/down, left/right).
- Introduce use of sensing blocks to detect colour or other sprites (essential for game design)
- Explicitly teach how to use Broadcast and Receive blocks (better to do here than in Year 6).
- Encourage experimentation with Pen tool, variables, operator blocks, and user input sensing blocks (e.g. question and answer)
- Experiment with the use the random operator block to affect my sprite’s movements and position on the screen
Relevant Scratch Tutorials
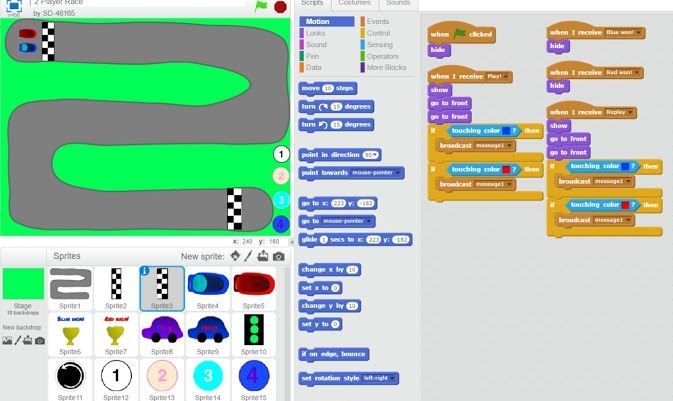
- Race to the Finish
- Hide & Seek
- Catch Game
- Create a Pong Game
Example Projects
YEAR 6
Project Ideas: Game Design (In-depth), Storytelling, Quizzes, Scratch Art
Skills/Teaching Points
- Reinforce appropriate use of IF/THEN branching, Broadcast and Recieve event blocks
- Explicitly teach how to use sense, IF/THEN, and operator blocks to create quizzes, games, and stories which require user input through the use of clickable buttons and text entry – catering for multiple possible answers.
- Explicitly teach use of Pen and Data (variable) blocks.
Game Design Resources
I created a Scratch game design website for my ISTE presentation in June. Please take the time to explore, and feel free to share it with your networks – http://bit.ly/scratchgamedesign17.
Example Projects
A Quick Note on Scratch Educator & Managed Student Accounts
Scratch now has Education accounts, allowing teachers to create user accounts for their students without the need for email addresses. We created Scratch accounts for our students based on their anonymised usernames for another site and taught them how to protect their online identity when participating in the online Scratch community. Despite one or two teachable moments, overall our girls really appreciated receiving constructive feedback from other Scratchers – both within and beyond their school.
While our experience with managed student accounts was broadly positive, they are a nightmare to manage and transfer at the end of the school year. If I were to create student accounts over again, I’d create Scratch classes for each Year/Grade Level – e.g. Year 5 2017. At the end of the year, the class can then be renamed, and new students added. Students are taught to add their projects to Scratch Studios, although I will need to think through a proper naming convention for these as well – as they are visible to all students in our school.
So, where to from here?
It has taken me nearly two and a half years, but I finally feel like I am starting to understand Scratch and how to teach it in a way which is accessible to students with a range of experience and confidence with visual programming. It was wonderful to see students achieve success with Scratch, even if it took some of them considerably more time and help to start realising its’ potential. I am indebted to my early adopter students for both showing me what is possible with this programming platform, and for helping teach their peers and teachers. The power of peer teaching, and the wealth of tutorials available on YouTube and Scratch Online are not to be underestimated!

 Several years ago, I started my exploration of Scratch coding with a group of highly motivated students who were happy to dive in, figure out how it worked, and answer my questions – which typically started with “How on earth did you do …?” We went on a learning journey together, and considering that I didn’t really know what I was doing, it is quite surprising how far we managed to travel.