In the words of my travel agent, my 2020 travel experience “will be one to tell the grandchildren”. This post marks a break from the traditional content on this blog, as I’m taking some time to reflect on what it meant to me, as a photographer, to ‘chase the light’ in a world overshadowed by a global pandemic.
There is no particular narrative to these photos, but they are broadly chosen around a theme of light. I share them in the hope that they will provide others with a little light and hope in these dark times.
“I am forever chasing light. Light turns the ordinary into the magical.” Trent Parke
In January 2020, I handed back the keys to my rental property, put my life possessions & LEGO collection into storage, and packed my bag. The “plan” was to spend six months to a year traveling through SE Asia, North America, and Europe before pursuing a career in international teaching. Alas, I was soon to discover that the ‘best-laid plans of mice and men often go awry’.
A trip years in the making would last just 10 weeks.
Singapore
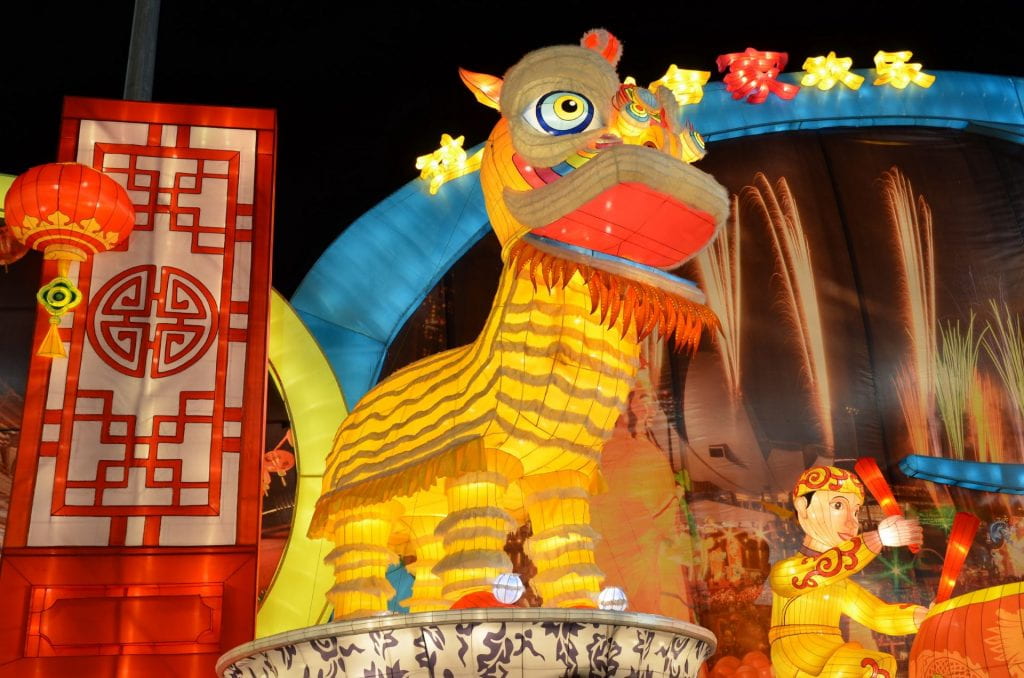
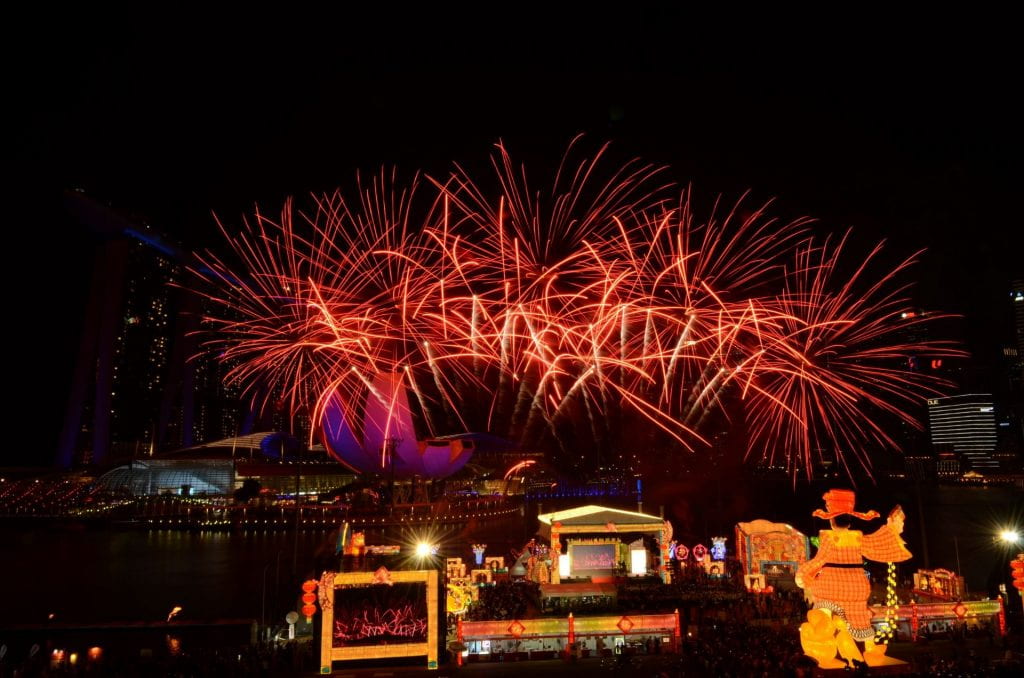
After brief visits to Melbourne and Adelaide, I started my overseas adventure in Singapore, during the Chinese New Year. I stayed in Chinatown, where I was out on the streets for the midnight Lunar New Year countdown.
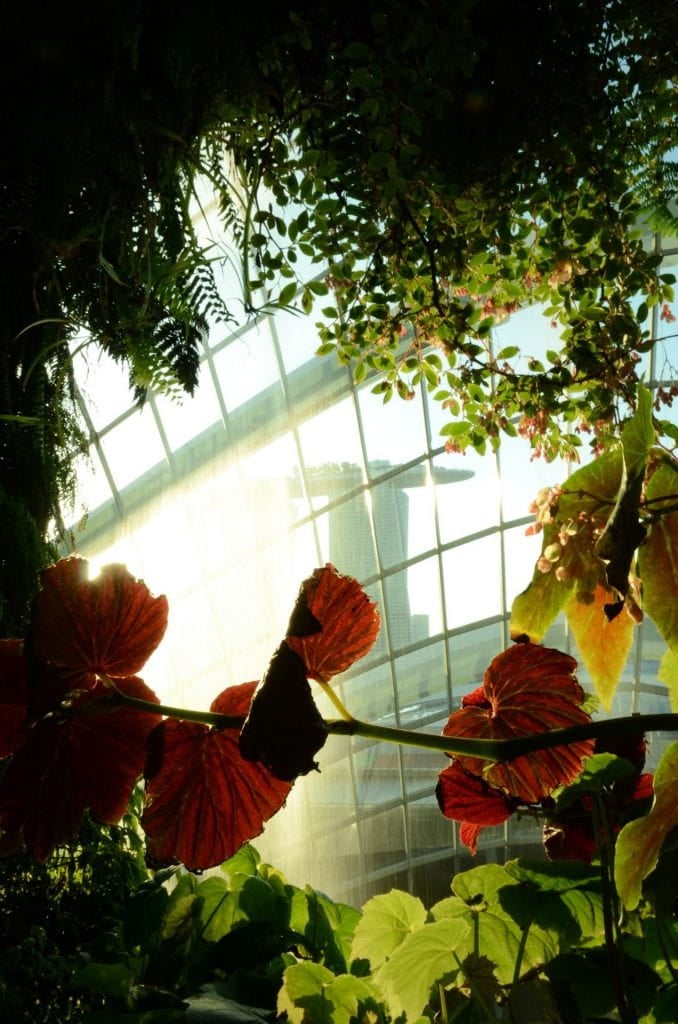
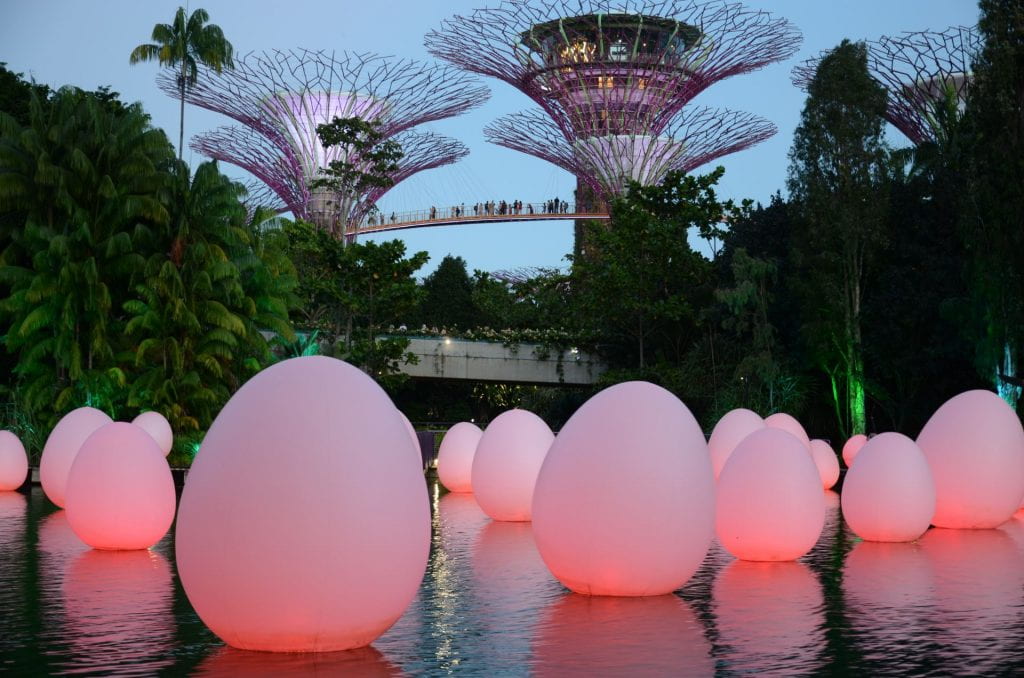
Singapore … a city of gardens, high-density urban living, and such incredible food. The Gardens by the Bay, in particular, were breathtaking. Stumbling across the nightly light and music show amongst the Sky Trees was a happy accident; and the amazing digital art exhibition at the Art Science Museum was well worth the admission.
I loved Singapore, and I was especially thankful to @traintheteacher’s students for the tour of their wonderful new school. Sadly, this was the only international school visit that went to plan – for reasons that became painfully obvious later in the trip.
River Hong Bao Festival, Chinese New Year
Gardens by the Bay
Art Science Museum

Thailand (January 2020)
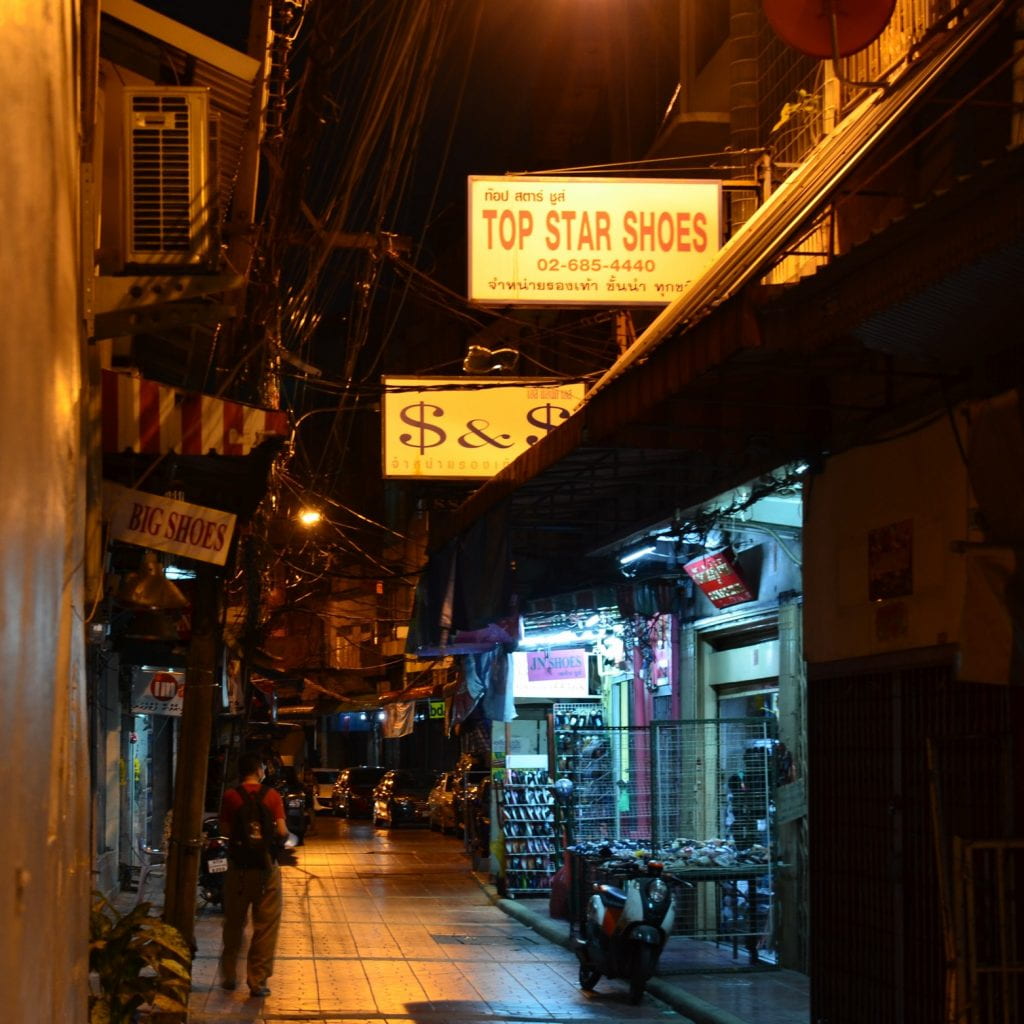
Arriving in Thailand, I joined what will be the first of many G Adventures tours I undertake when the world calms down in years to come. We started out in Bangkok, took an overnight train to Chang Mai, and then traveled overland to the Thailand/Laos border.
Thailand was, to put it mildly, overwhelming. There is real beauty there, but it was hard to find amidst the crowds, air pollution, and deluge of tourists. While it is true that we only had five days to barely scratch the surface of the country, I am also not sure if/when I’d return.
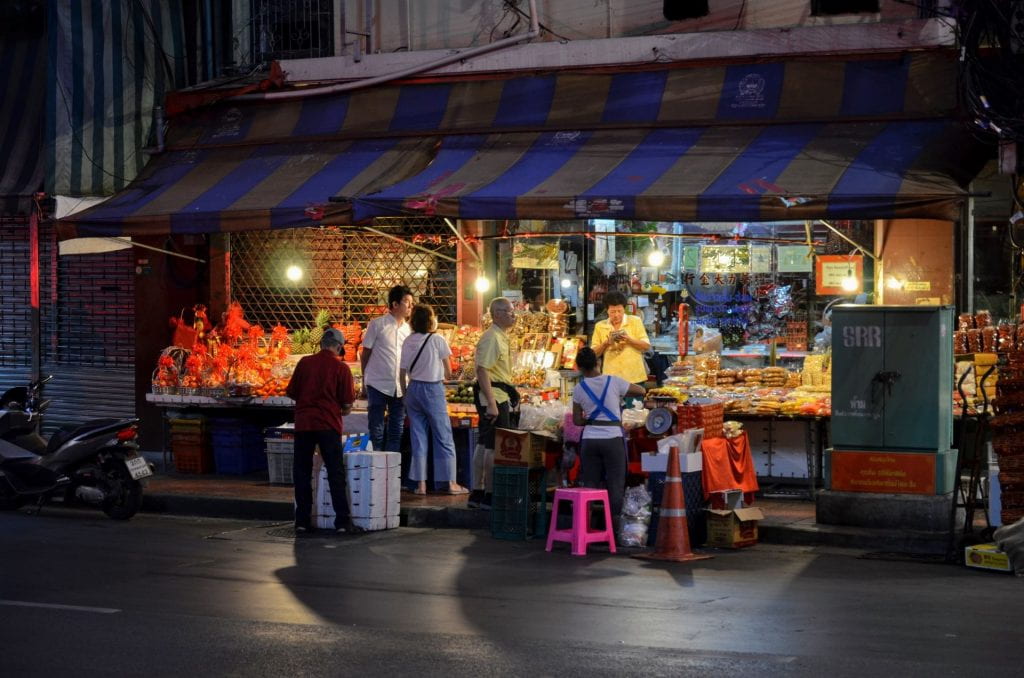
After dark in Bangkok Chinatown
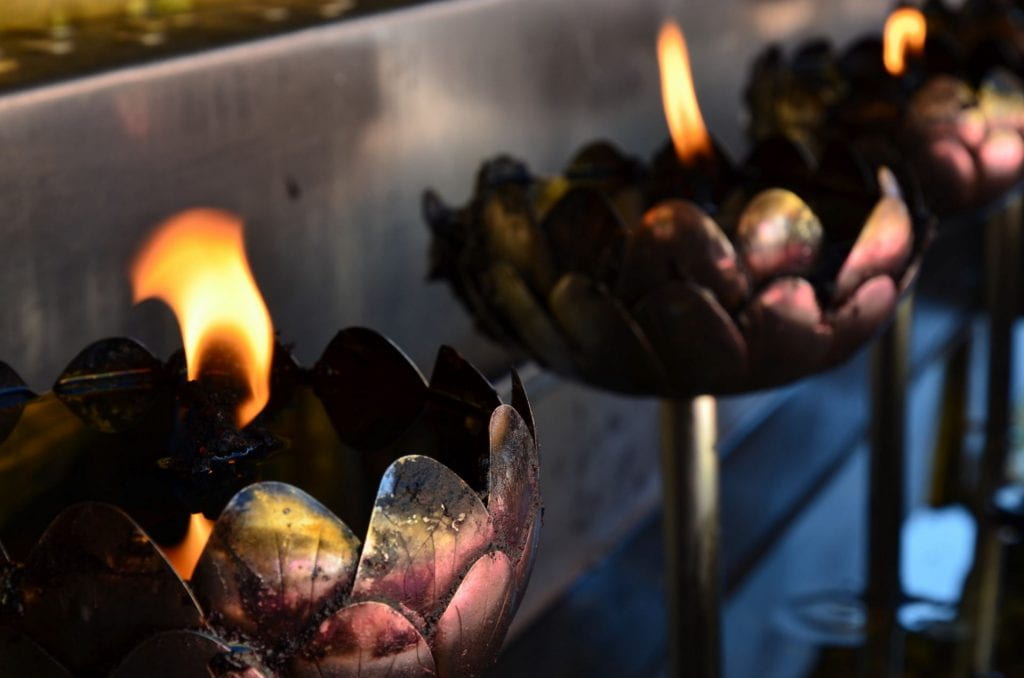
Temple Flames
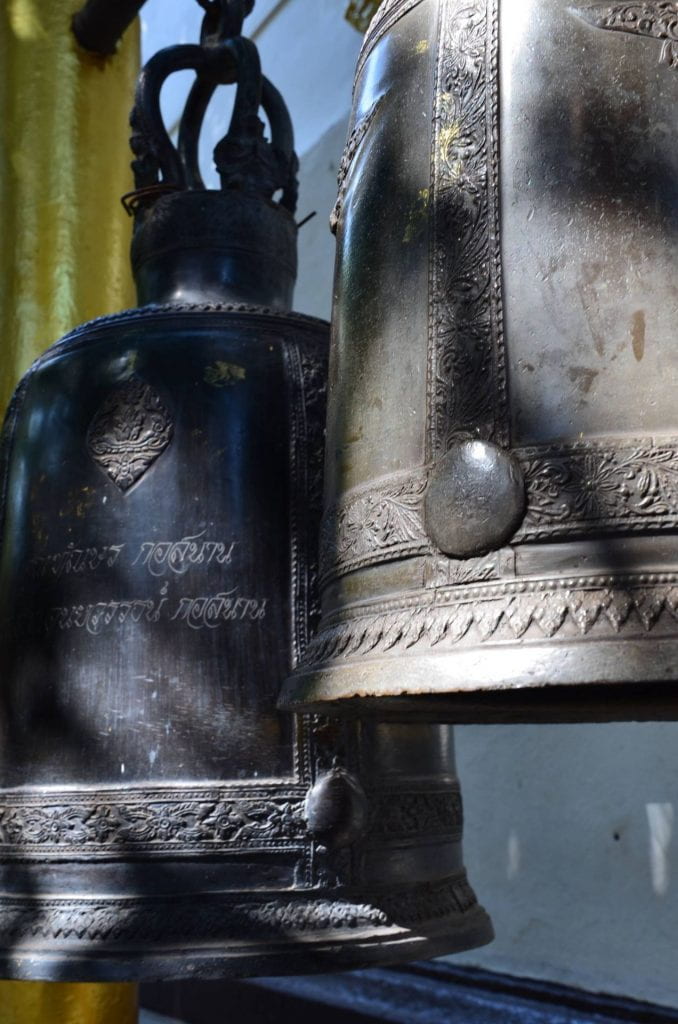
Ringing the temple bells
I almost broke a leg here … I slipped on the tiles and damaged my kneecap. Thankfully, it didn’t impede my ability to walk – and most importantly of all, I saved my camera. Despite that rather painful memory, I loved the sound and shadows of the bells here.
Laos (Jan/Feb 2020)
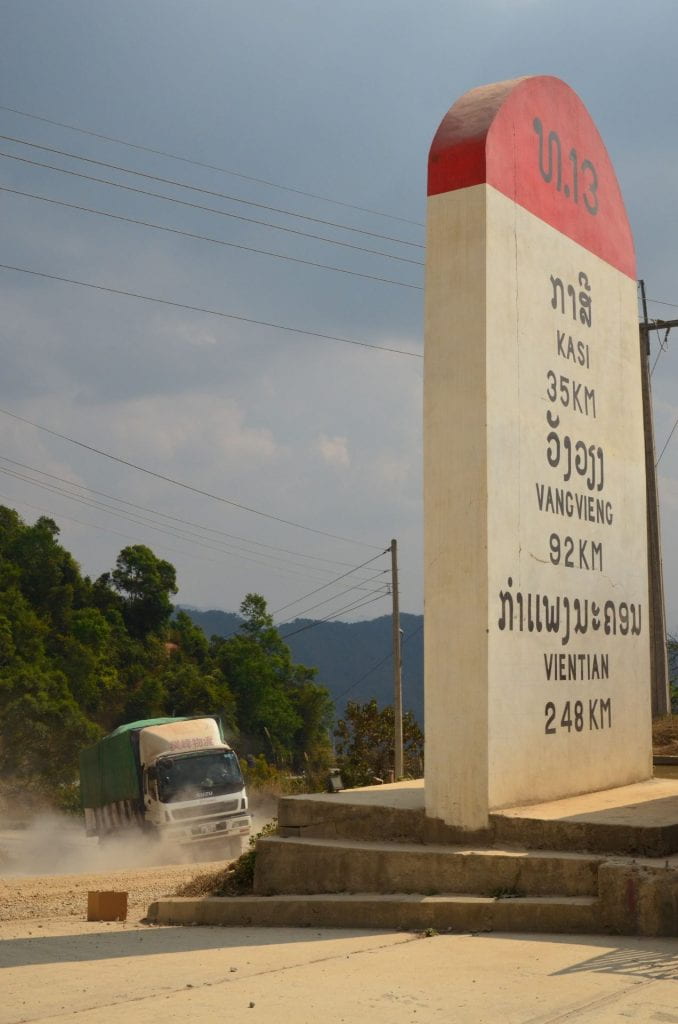
I learned a valuable lesson in Laos. Going off the well-trodden tourist trail, with the support of a reputable, community-focussed tour operator is worth the time and investment. Yes, the roads were utterly appalling (frightening and deadly), and the country is extremely poor, but I fell in love with Laos. Friendly people, amazing food, and one of the most breathtakingly beautiful countries I’ve ever explored with a camera. Oh, and two days sailing down the Mekong River wasn’t nearly enough …
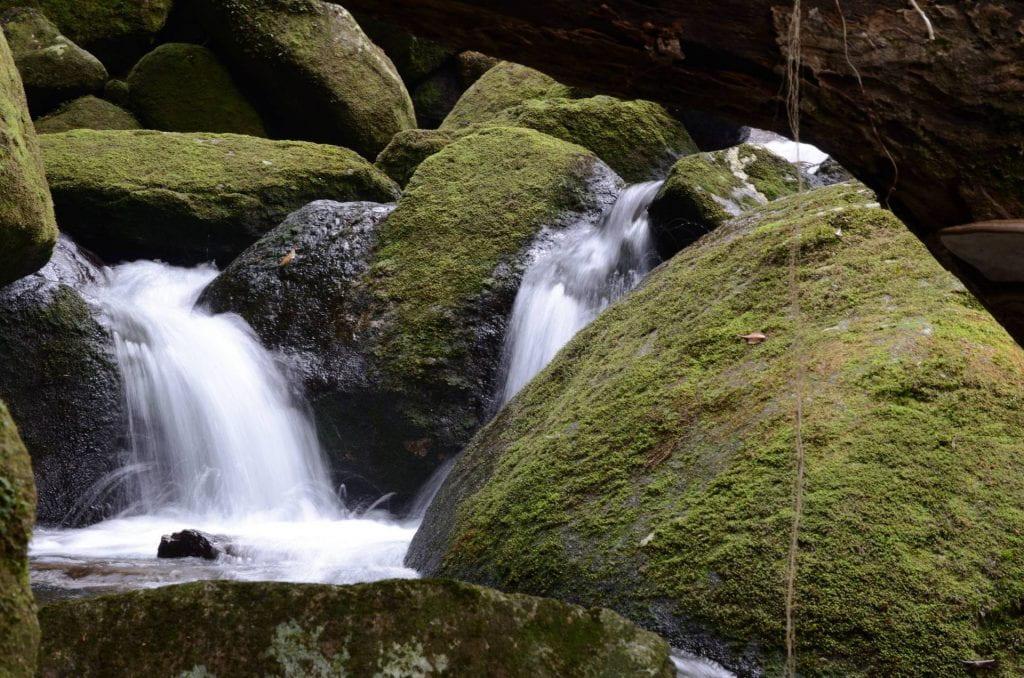
It was also the place where I made a million to one connection with a dear mentor and colleague from back in Perth, Australia. We didn’t know we were in the same country, yet we quite literally ran into each other by a remote waterfall near Luang Prabang. This led to an invitation to join a teacher training workshop in a Laotian village, which was a truly humbling experience.
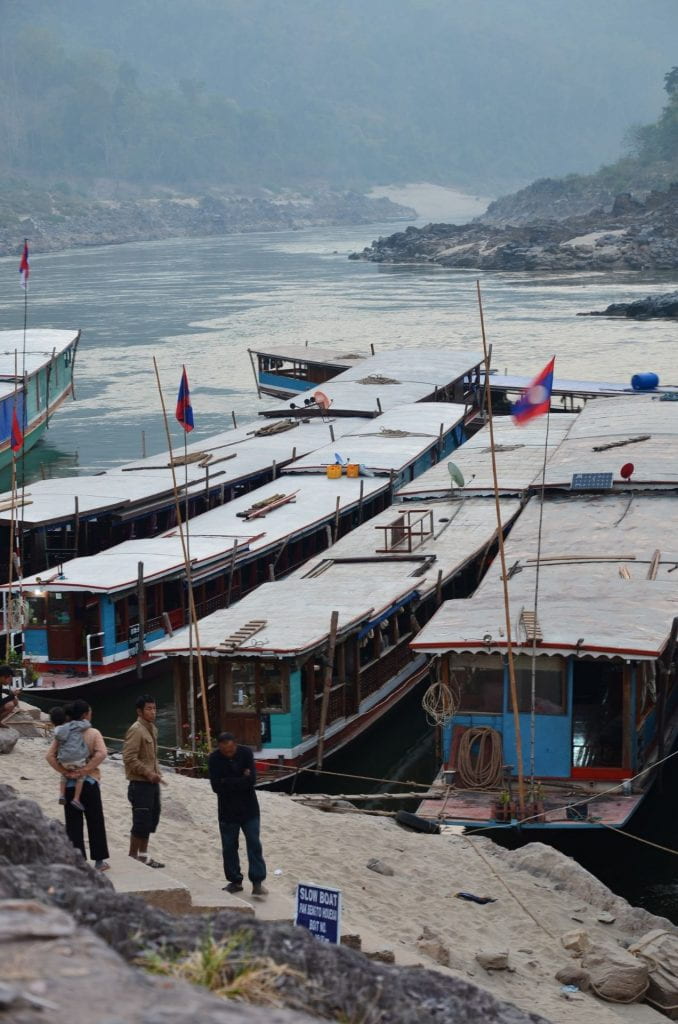
Pak Beng, on the Mekong River
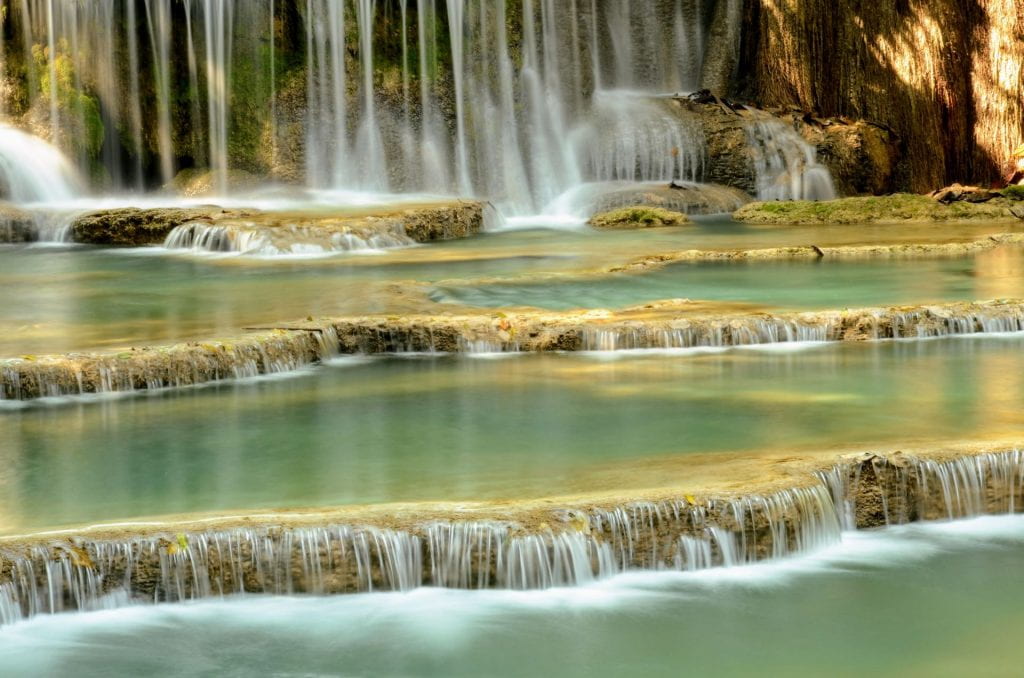
Kuang Si Falls, near Luang Prabang
Roadtripping in Laos
Vietnam (February 2020)
Vietnam. A unified country with very distinct cultures, architecture, and history in the north and south. Arriving in Hanoi on a cold, misty night felt like I was walking the streets from Bladerunner. I was, sadly, too exhausted to take my camera out for a night shoot there – and when I hopefully return, that will be high on my to-do list.
Halong Bay, Hue`, Hoi An, and Ho Chi Minh (Saigon) … so very different. The scars of conflict are still visible … and visiting the Chu Chi tunnels was a very sobering and dark experience. Yet, Vietnam is a country that refuses to be defined by a war … It was a photographer’s paradise, and I barely scratched the surface. I’ll be back.
Alley cat, Hoi An.

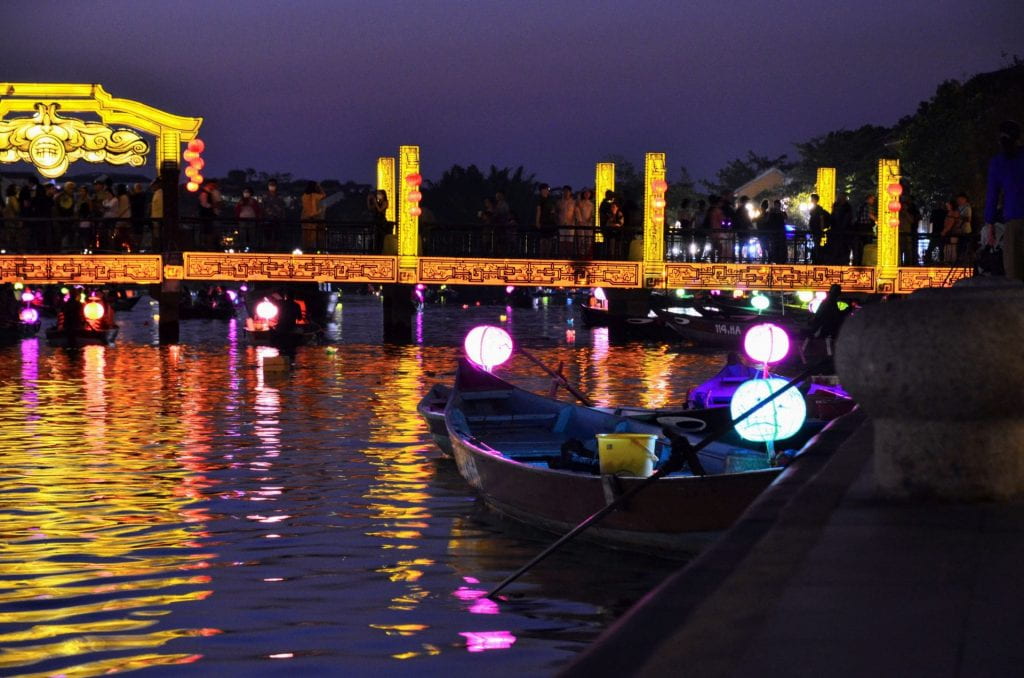
Hoi An
A stunningly beautiful and photogenic city – unfortunately, overrun by tourists.
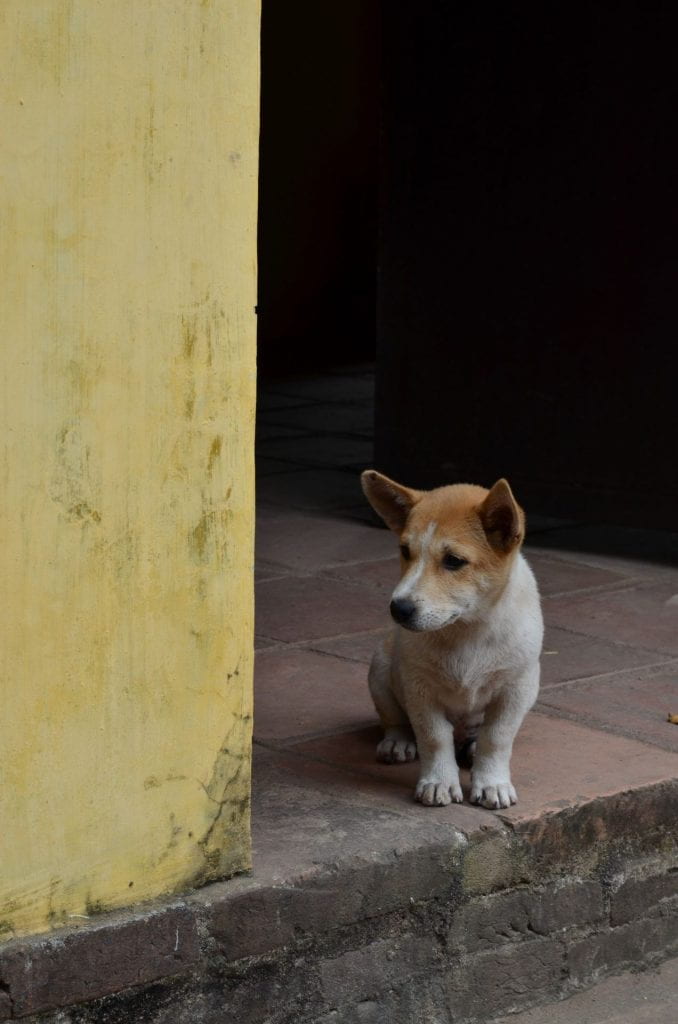
A friendly resident of a bombed-out Royal Tomb complex, near Hue`
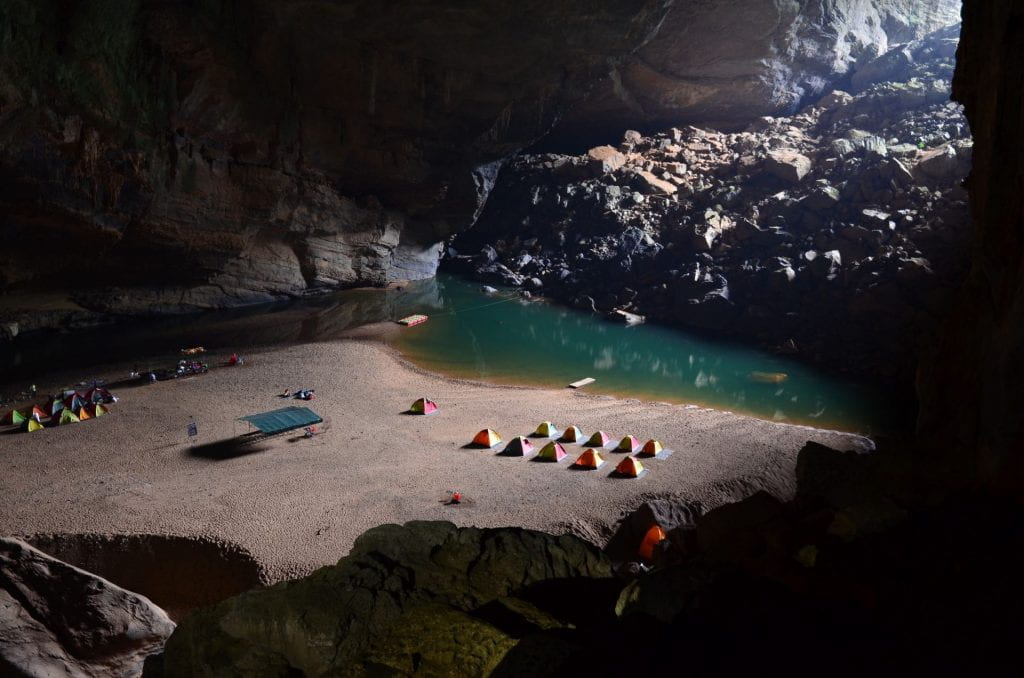
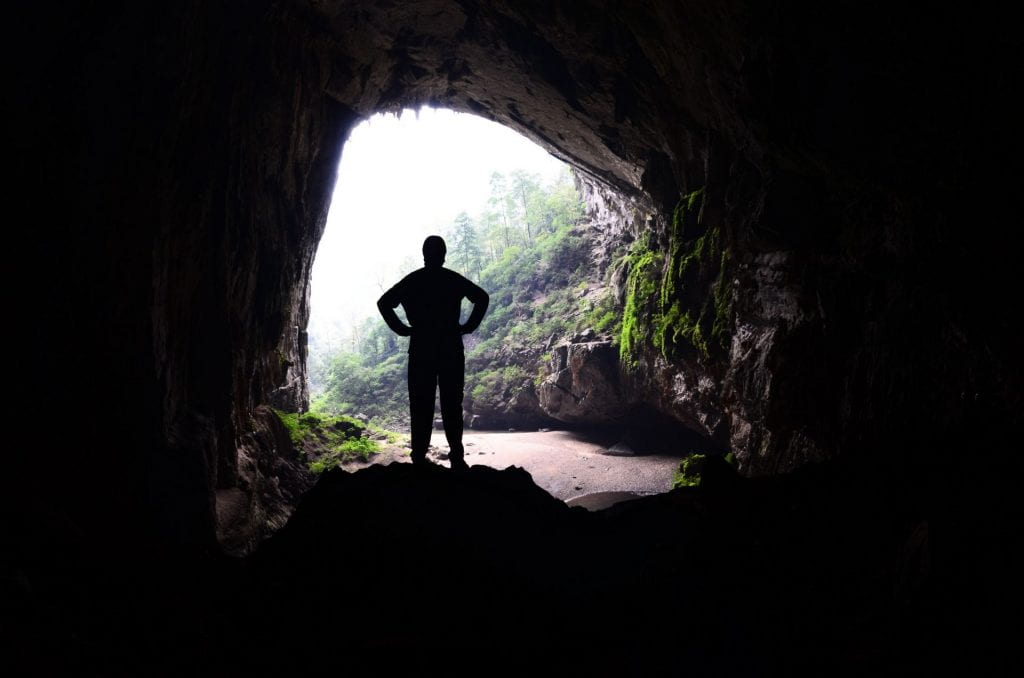
Hang En Cave Expedition, Phong Nha
Over the past year, I have had several defining life experiences. Skydiving over Uluru in Central Australia (and surviving an emergency landing on a multi-million dollar art installation) in October 2019 was one. A 22km jungle hike and camping overnight in Hang En, the world’s third-largest cave, was another.
Camping here, wading through above and under-ground streams, climbing 70m high rockfalls, and swimming in a cave pool … it’s an experience that is hard to describe. The climb out of the jungle was the hardest thing I’ve ever done in my life. With the help of a very patient local guide (who made the climb look easy), I was able to push through and beyond what I thought I was physically and mentally capable of. @OxalisAdventures – thank you for an adventure of a lifetime.
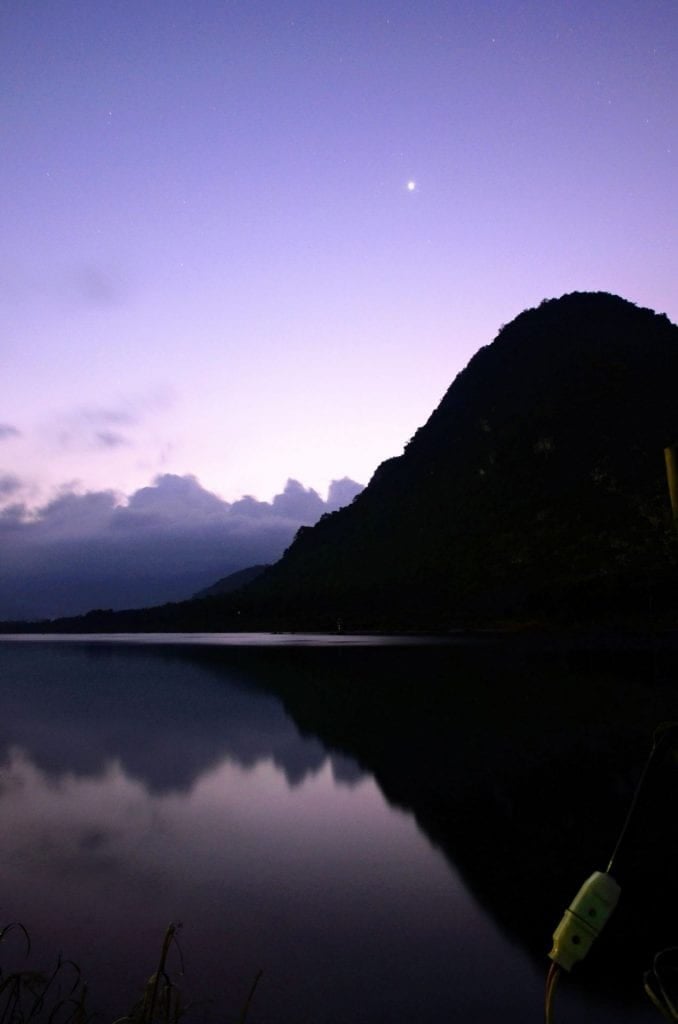
Son River, Phong Nha
I stayed at a homestay that is co-owned by one of the most incredibly humble gentlemen I have ever met – Mr Hồ Khanh- the man who discovered the internationally renowned Son Doong cave, the world’s largest. I spent my last two days in Vietnam taking in this view, and talking to some of the local expats who call Phong Nha home. I have fond memories of this place … where I met a fellow Australian (from my hometown – another small world moment), and a member of the famous British cave expedition team who helped explore and map the local cave systems.
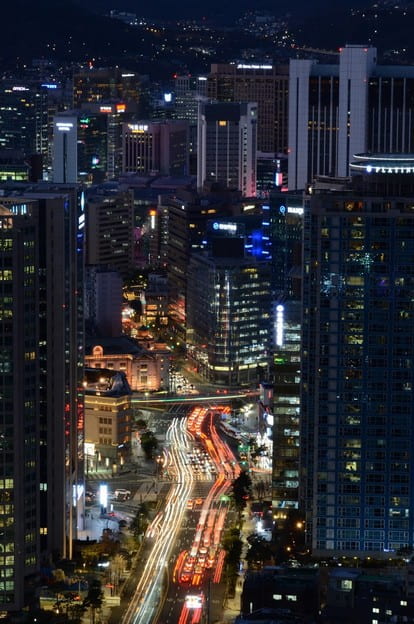
Seoul, South Korea (Late Febrary, 2020)
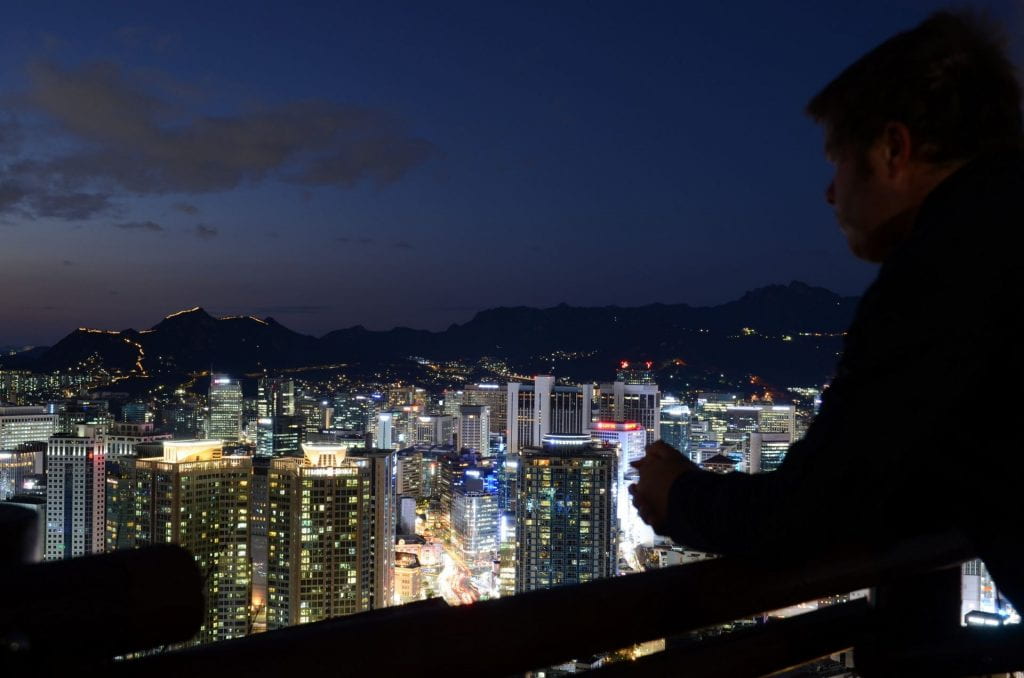
Leaving everything behind to travel the world sounds like a wonderful dream; however, there are times where it can be very difficult indeed. As I arrived in Seoul, world events were starting to spiral out of control – and they took a severe personal toll. The weather was bitterly cold and depressing; and the men in white bunny suits disinfecting the streets and responding to a suspect coronavirus case at a nearby hotel didn’t do much to improve the mood. There was a climate of fear which was hard to shake.
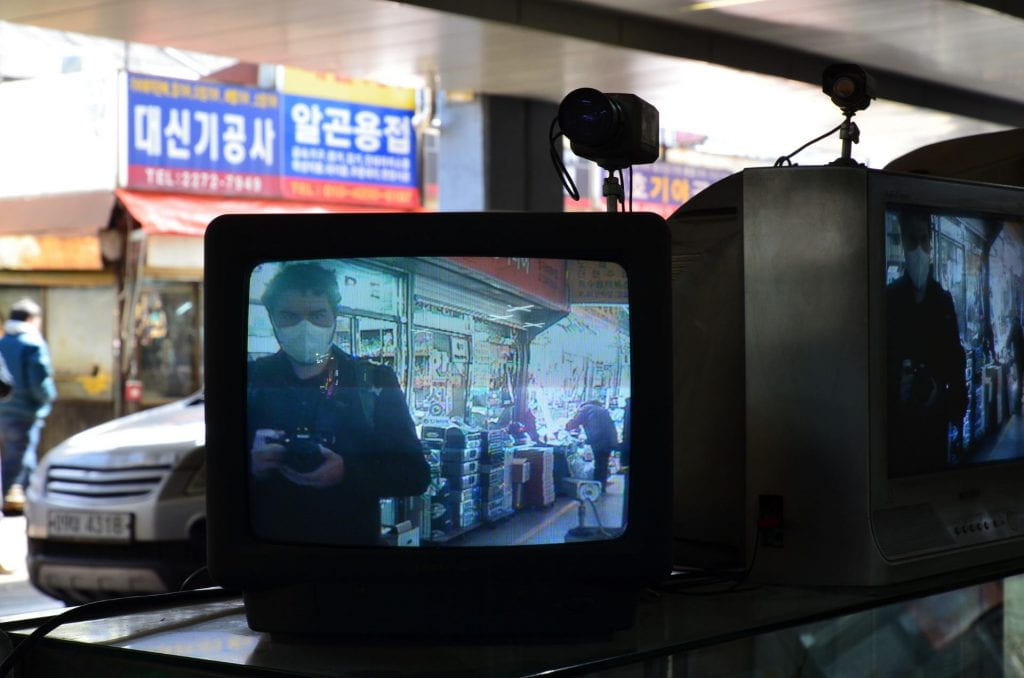
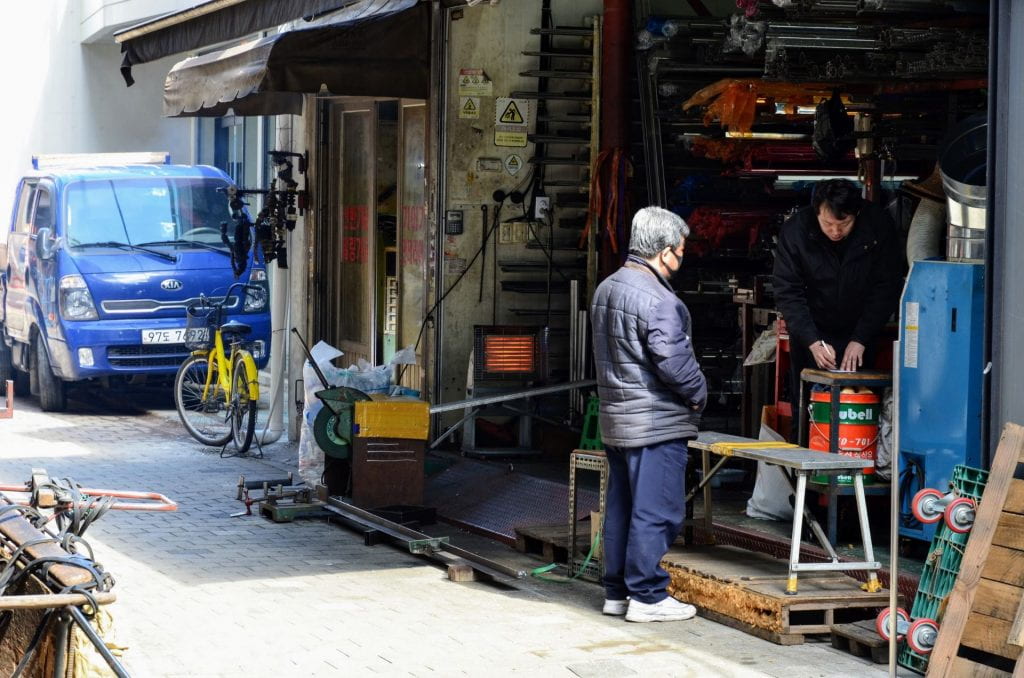
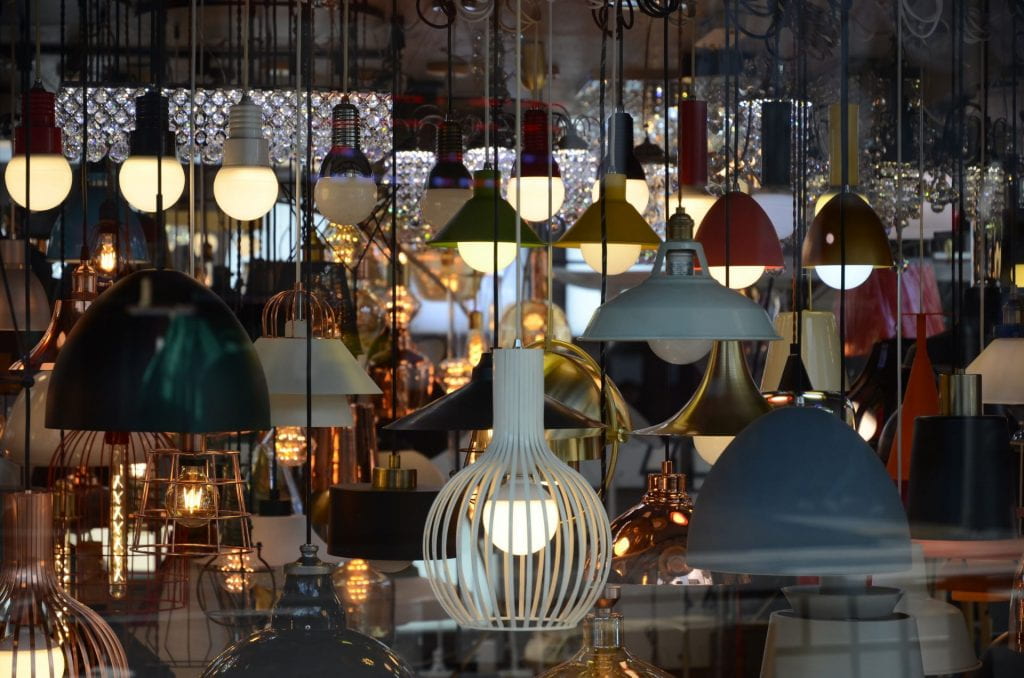
It wasn’t until I climbed a mountain (both literally and metaphorically) that I realized why I was there. I had the night shoot of my life on top of Mt Namsan, capturing the juxtaposition of ancient and modern Seoul. I would have loved to have further explored the natural beauty of South Korea, but cutting my trip short due to impending border restrictions in Japan, I found photographic contentment in the maker’s markets and diverse neighborhoods of Seoul.

Japan
Visiting Japan was the fulfillment of a twenty-year childhood dream. It was a world away from the climate of fear in Seoul – although almost all of the public museums and monuments I was hoping to explore were closed due to COVID-19 restrictions. After negotiating the health checks at the border (which was rather stressful as I was recovering from a four-week-long chest infection), I was allowed to enter the country. I soon felt right at home.
Starting my journey in Osaka and Nara, I traveled south to Fukuoka, before traveling extensively through Kyushu, reaching the very southern tip of Japan – Kagoshima, and Yakushima Island. I then headed north to Nagasaki, Hiroshima, Nagoya, and Kyoto- before sadly being forced to rush to Tokyo to catch the second last Qantas flight out of Japan.
As a photographer and avid hiker, Japan was a wonderland. From busy metropolises to beautiful remote forests and ancient pilgrim ways – it had it all. I spent many happy hours hiking misty forest trails, and I covered thousands of kilometers on the regional and shinkansen rail networks – including one very memorable 500km day trip in Kyushu. Hiking Japan helped me cope as I came to terms with a dream journey coming to a premature and hurried end.
So many experiences, so many photos, so many stories.
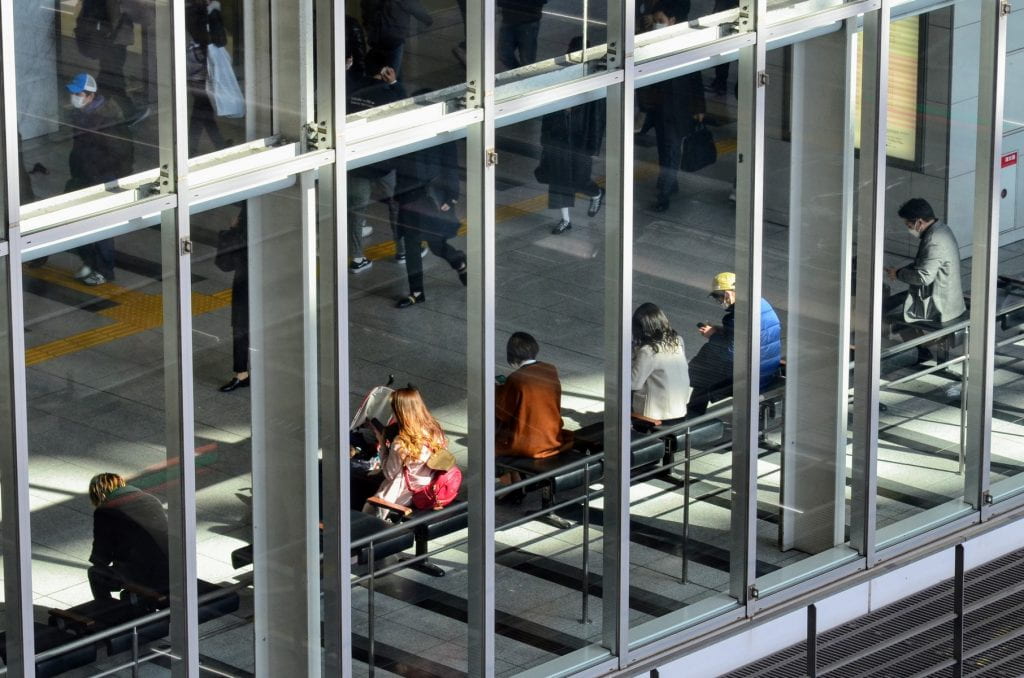
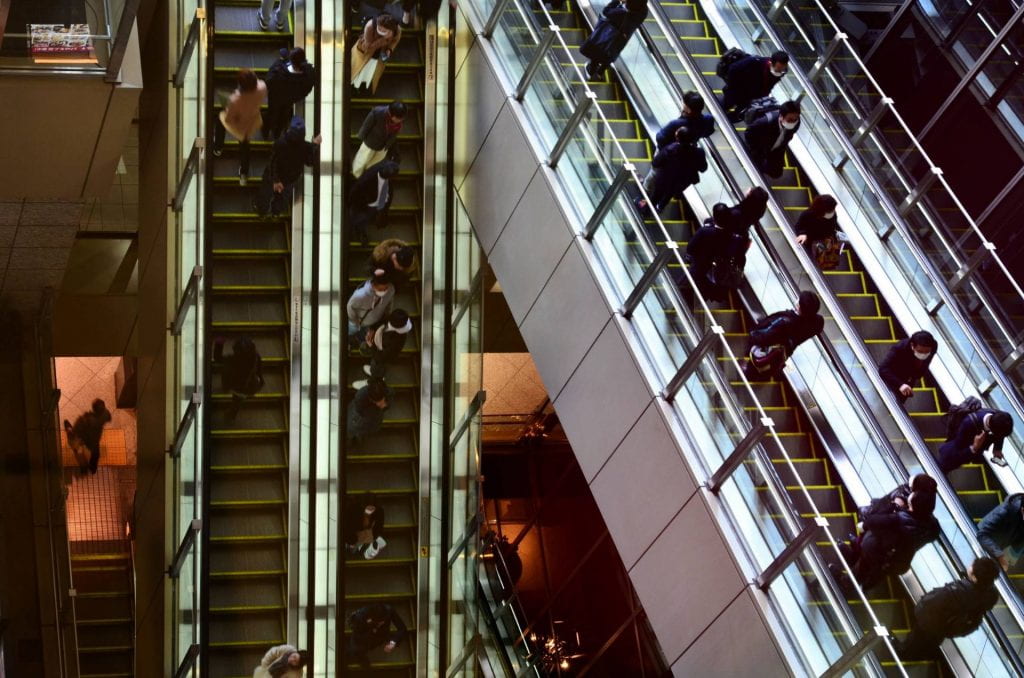
Osaka Train Station
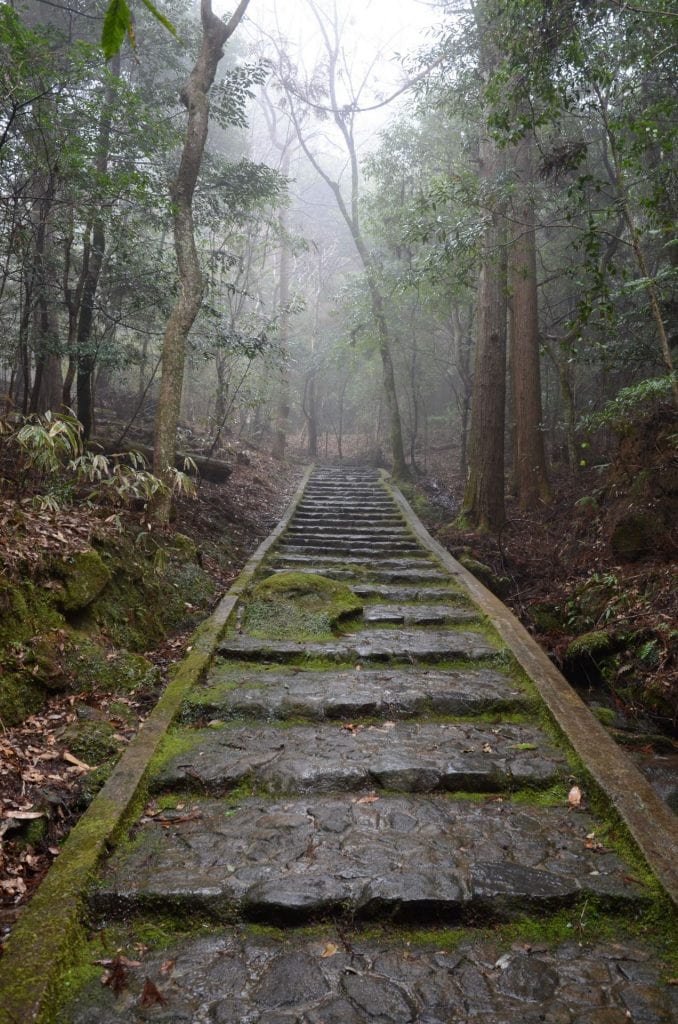
Hiking and Geocaching near Nara.
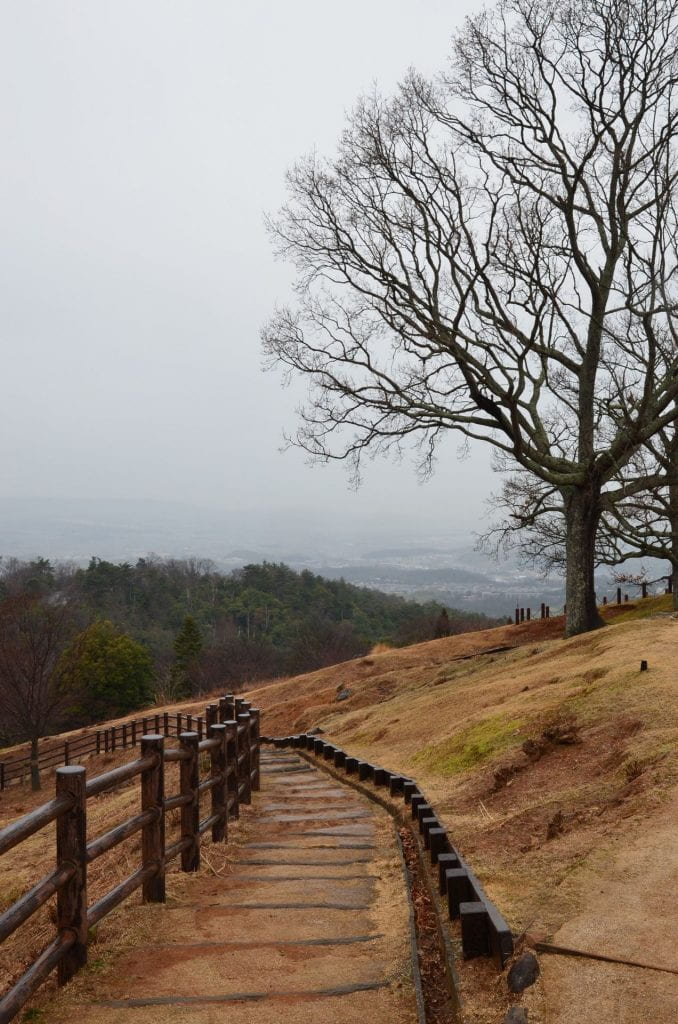
The road less traveled, overlooking Nara.
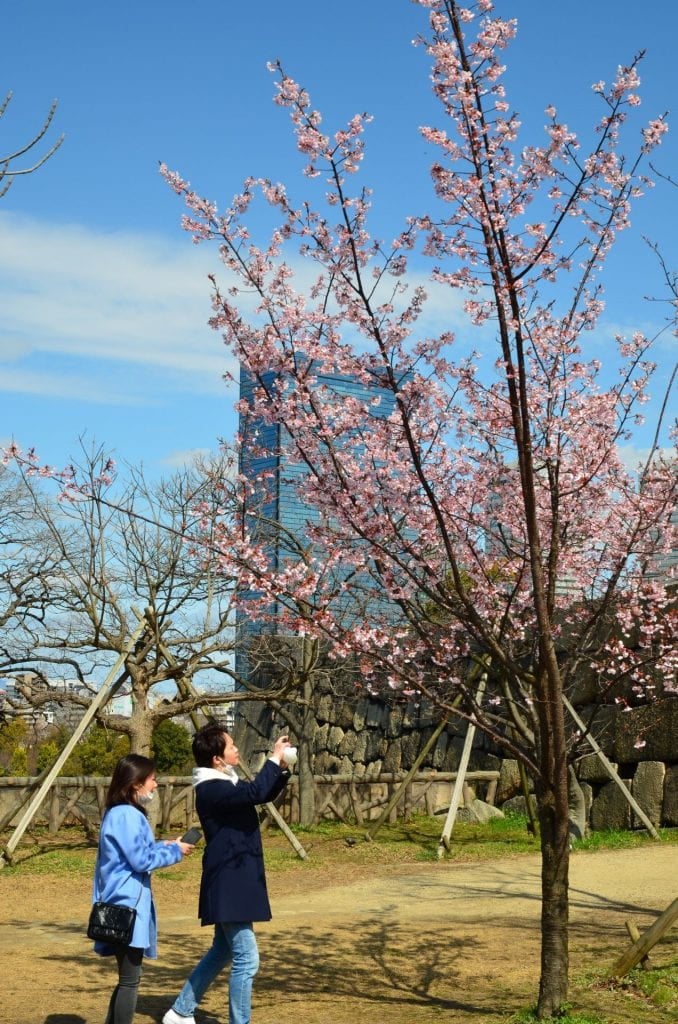
Early Sakura bloom, Osaka
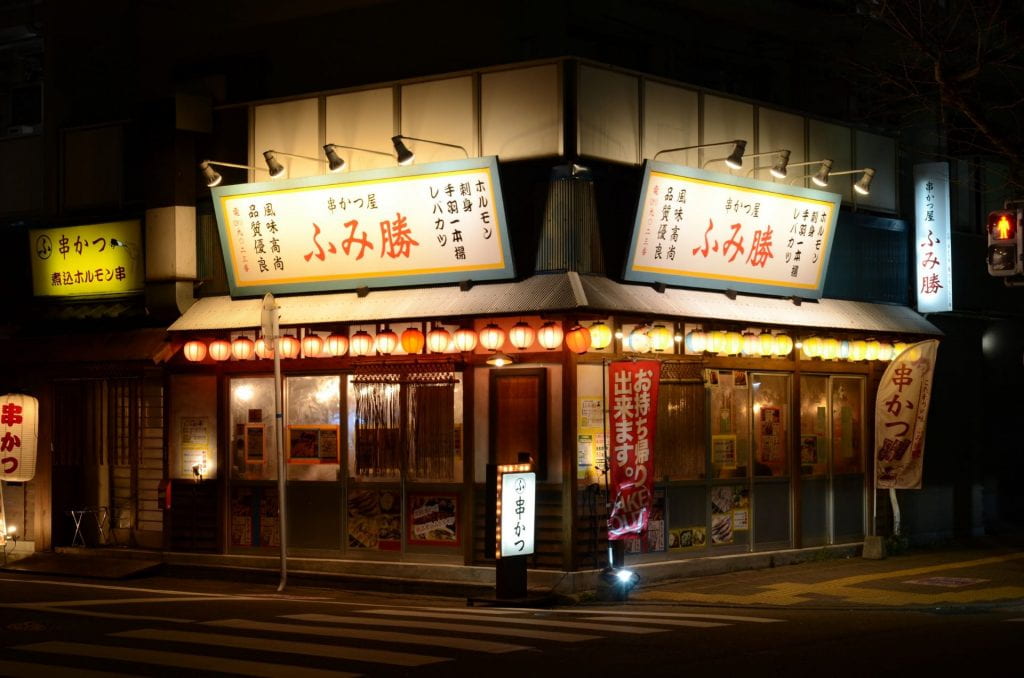
Fukuoka Diner
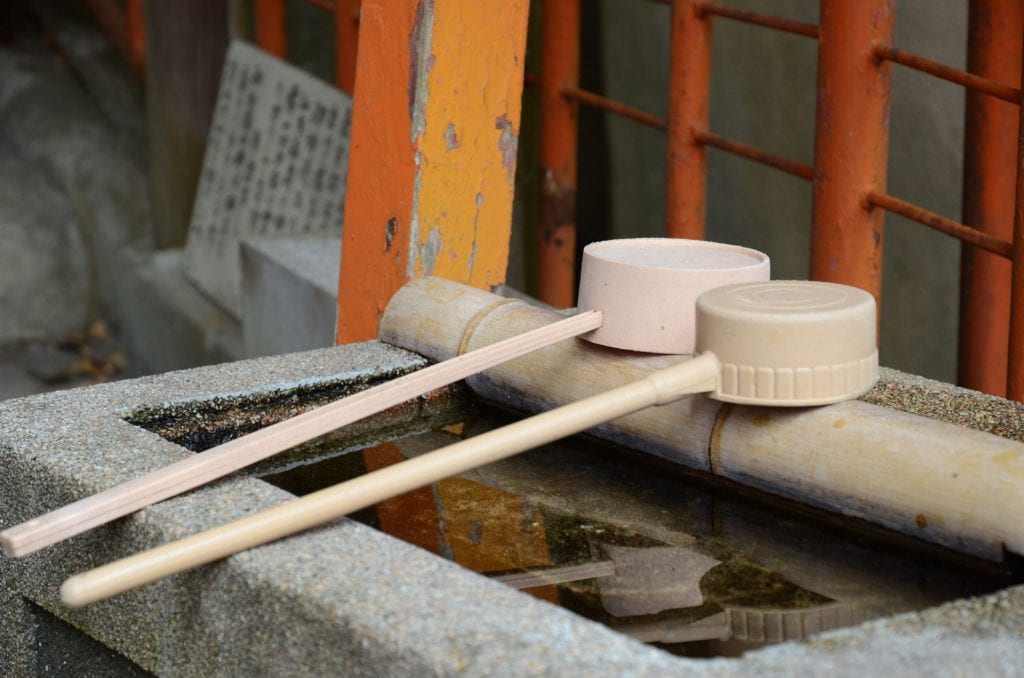
Purification Water at an old Shinto Temple near Fukuoka
The Hitetsu Orange Railway – a most memorable seaside railway segment of a 500km day trip!

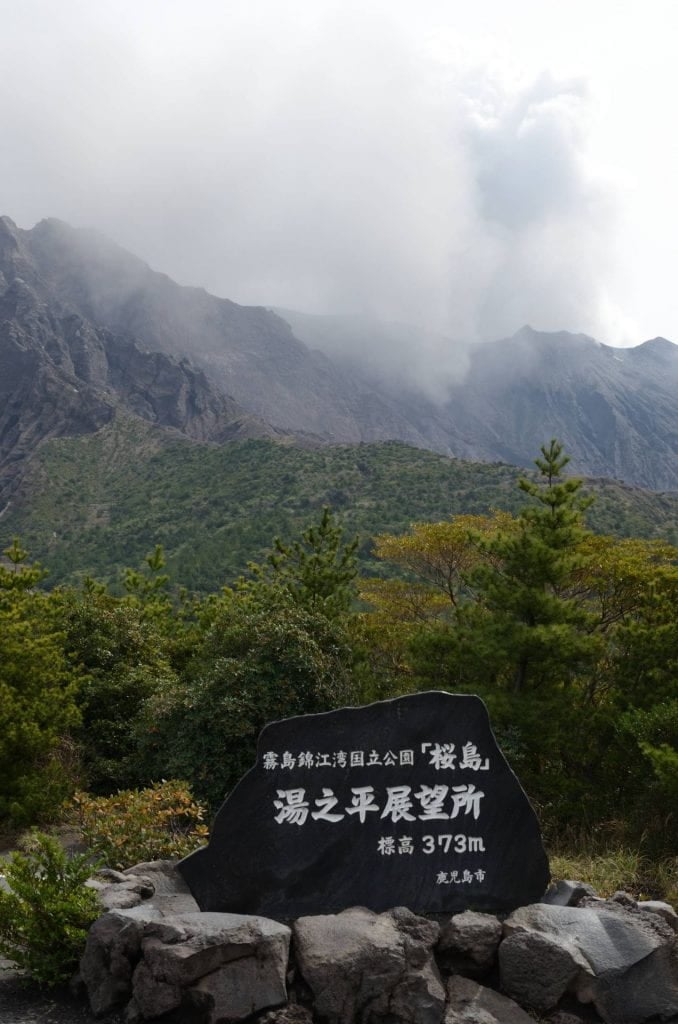
Witnessing a volcanic eruption on Sakurajima, Kagoshima Prefecture
Mt Kuromidake Summit – Yakushima Island (elevation 1381m)
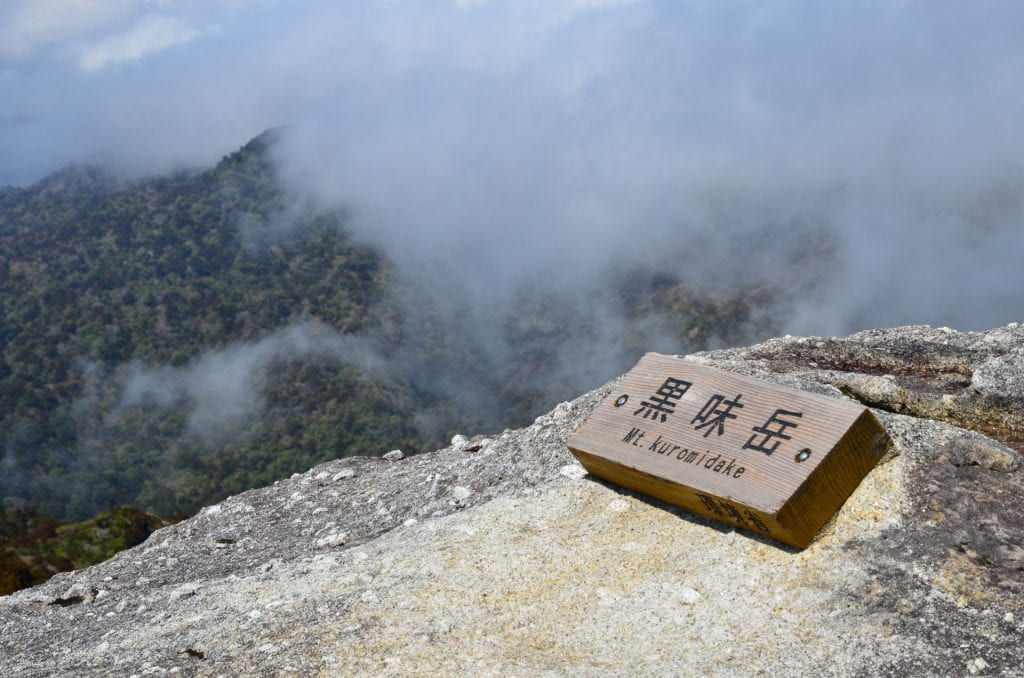
Yakushima Island – off the beaten tourist path, and a place of wonderous beauty.
Nagasaki trams
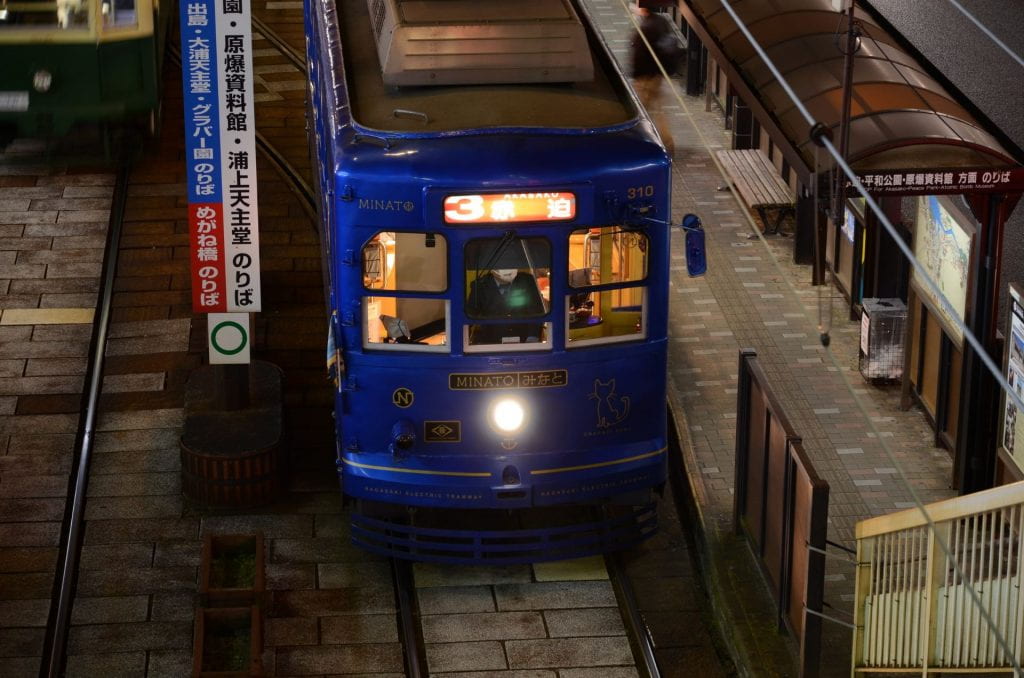
Nagasaki – the City of Lights

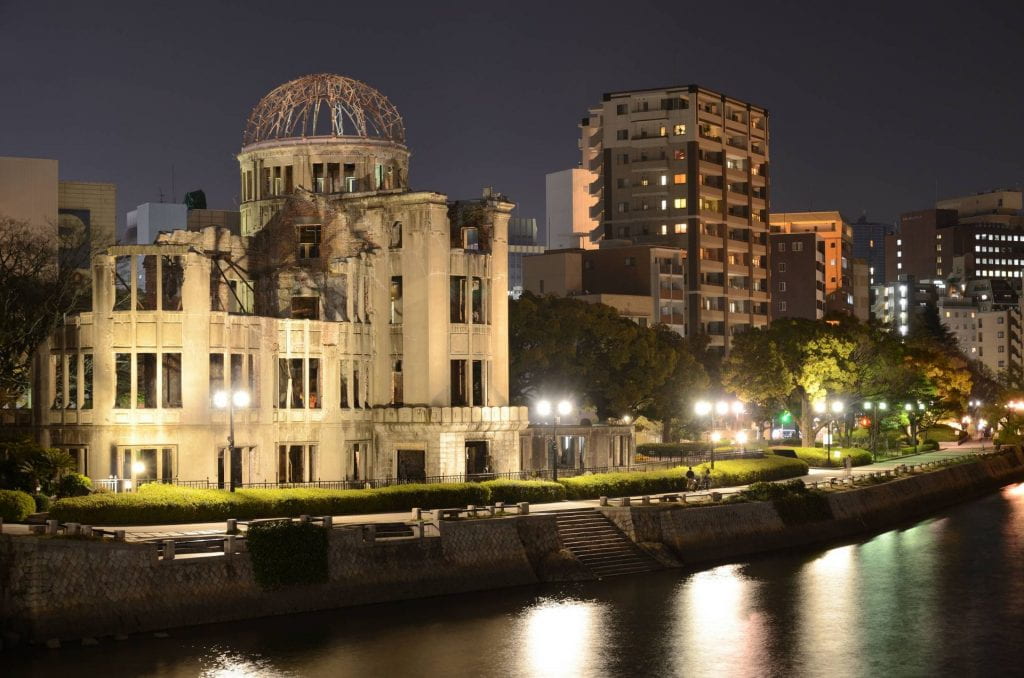
Hiroshima – A Bomb Memorial
Visiting Hiroshima (and Nagasaki), and paying my respects at the Sadako peace memorial, was a profoundly moving experience. I will return to Hiroshima – heading back to the little countryside inn outside the city limits, which was one of my favorite stays in Japan.
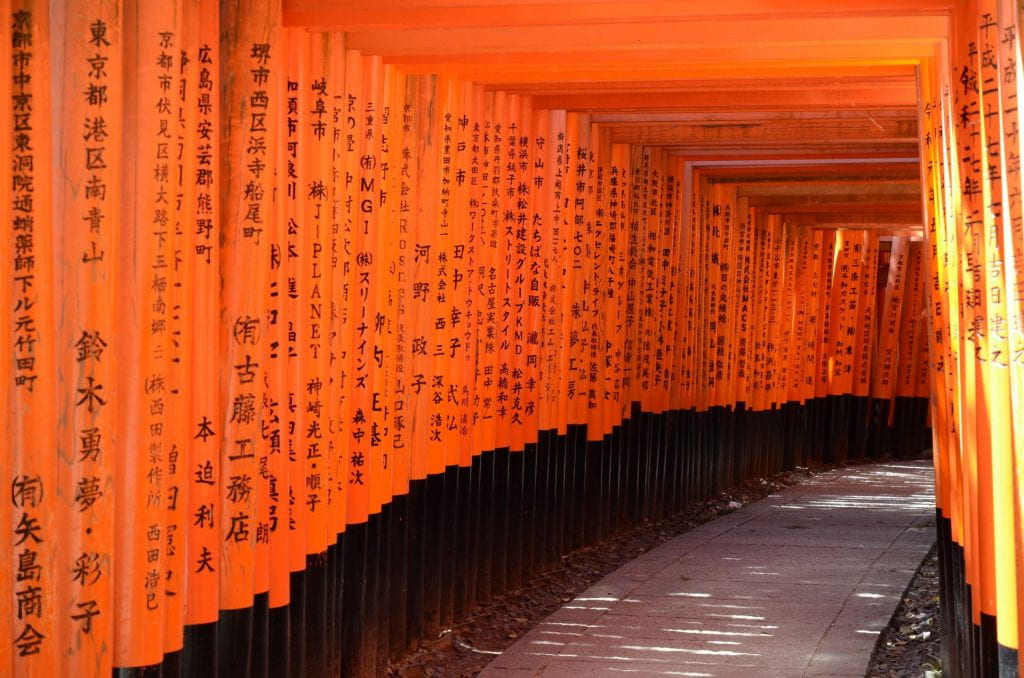
Fushimi Inari Shrine, Kyoto
You would not believe how hard it was to take this photo without people. It’s a beautiful shrine, and worth seeing – but it’s hard to appreciate when you can’t move for the crowds.
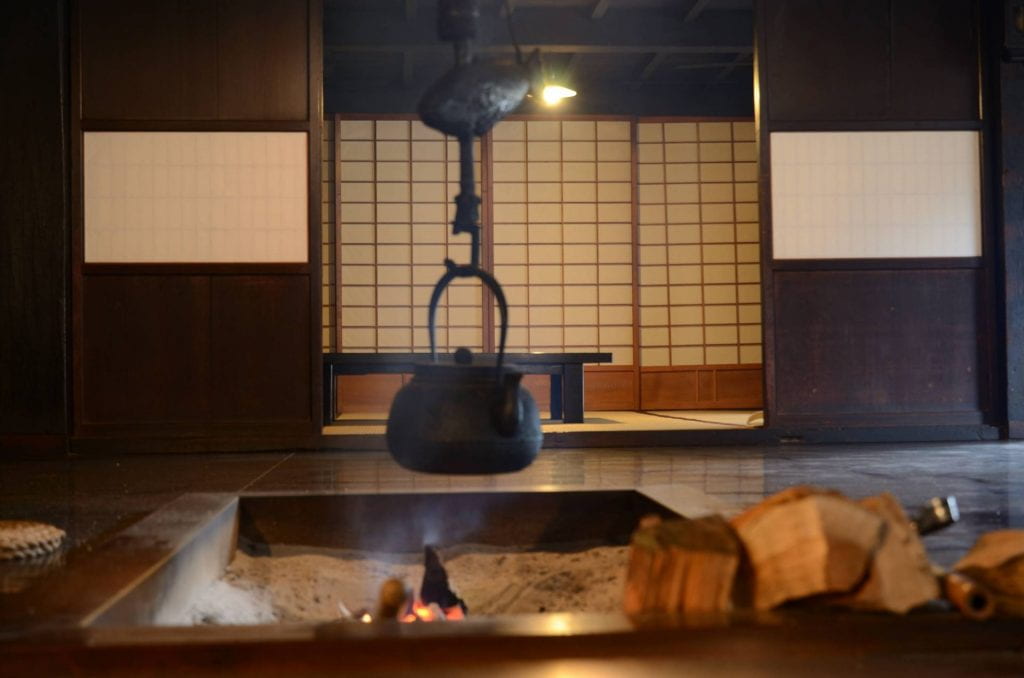
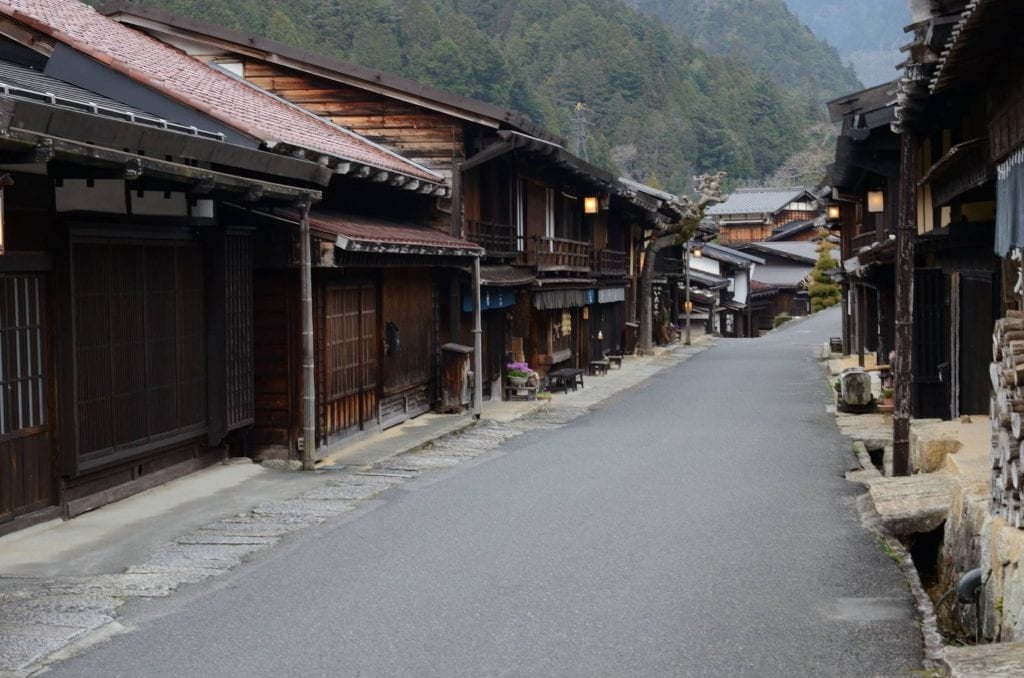
Traditional Travellers’ Rest on the first stage of the Nakasendo Way
Leaving Japan far earlier than planned, I was unable to undertake the long hike I’d planned through the Tohoku region in the North. As a substitute, I walked the first 23km of the historic and very beautiful Nakasendo Way, an old pilgrim walk between Kyoto and Tokyo. I hope to return to walk most of the Way on a future trip, staying in the old post towns. It was a taste of the real, traditional Japan – far removed from the big city lights. The gentleman running the teahouse helped make my final sad days in Japan that little bit brighter.
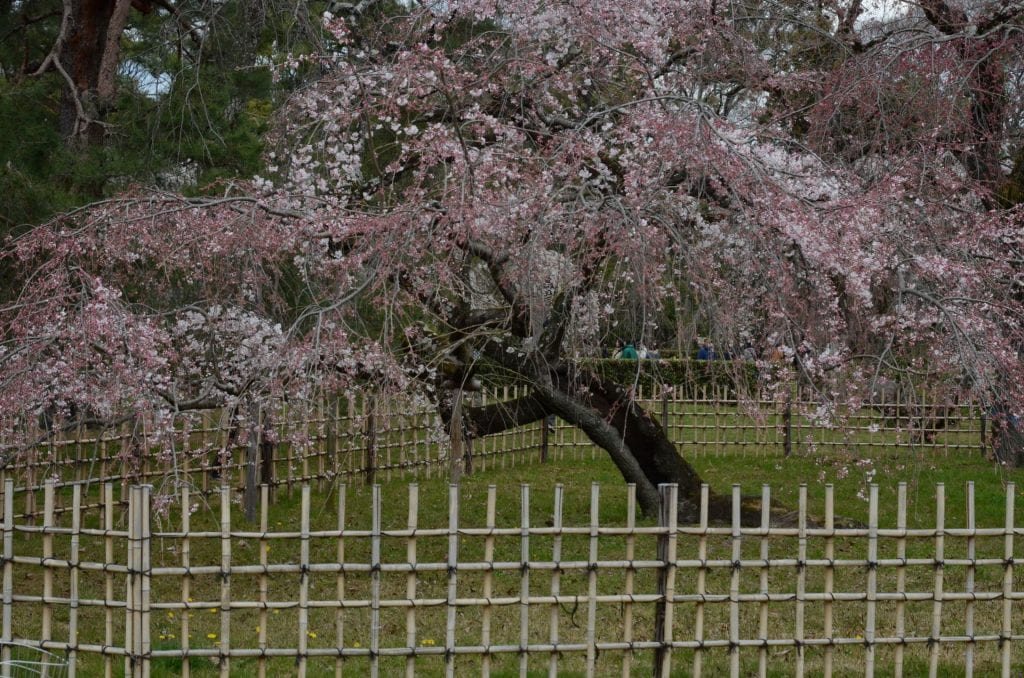
Kyoto Imperial Gardens
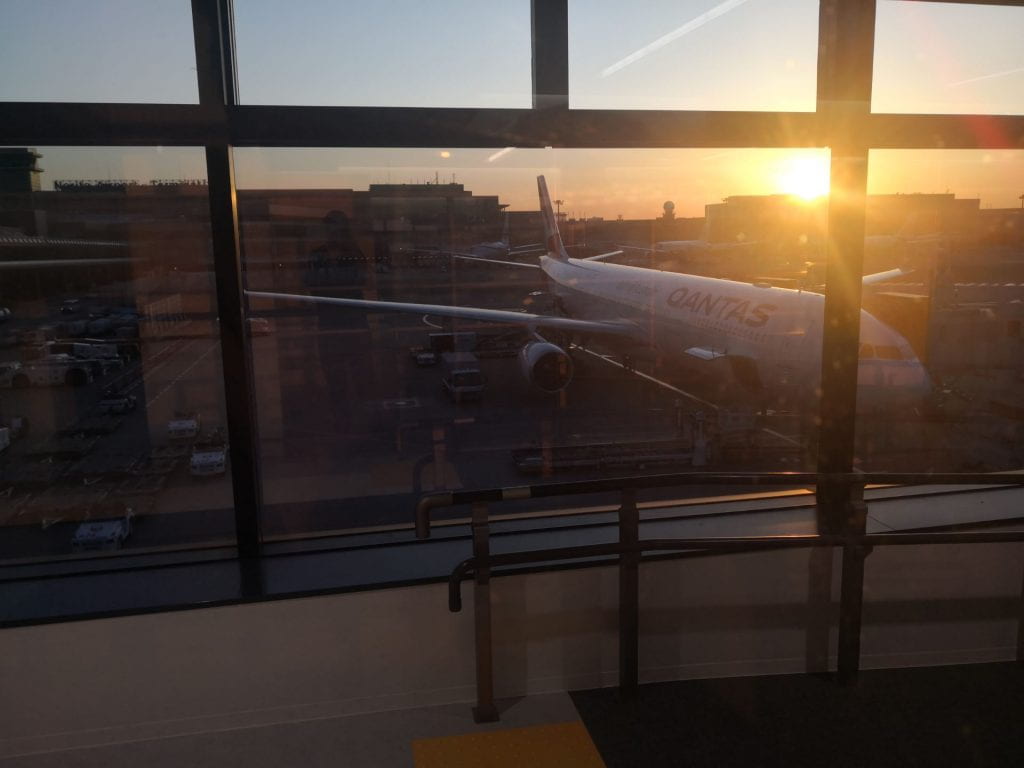
A moment that brought me to tears … Seeing the full Sakura (cherry blossom) blooms on my second last day in Japan. I didn’t want to go home, but with Canada and the USA closing their borders, and major transit hubs closing to foreign travellers, I was forced to head back home to Australia. Sadly, the dream was over.
Homeward Bound
As hard this year has been (and continues to be for reasons which I won’t go into here), I am extraordinarily thankful for having had the opportunity to travel so extensively before the unprecedented shutdown of international travel caused by Covid-19. I learned some incredibly valuable lessons on the road – and I grew significantly as a photographer.
Not only did I gain a deep appreciation for light, I learned a great deal about composition, depth of field, and long exposures. I’d like to thank Randy, a Canadian photographer I met on the G-Adventures tour, and Kevin (@MadforMaple), a Twitter educator and photographer in Japan, for so willingly sharing your expertise and photographic works. I’ve learned a great deal from you both, and my creative works are richer for it.
So, in closing … I don’t know what my next steps will be, or where. But, one day soon I’ll be out there ‘chasing the light’.